I thought that making my business card was one of the most labor intensive things I had ever created. My wedding invites blew that right out of the bucket.
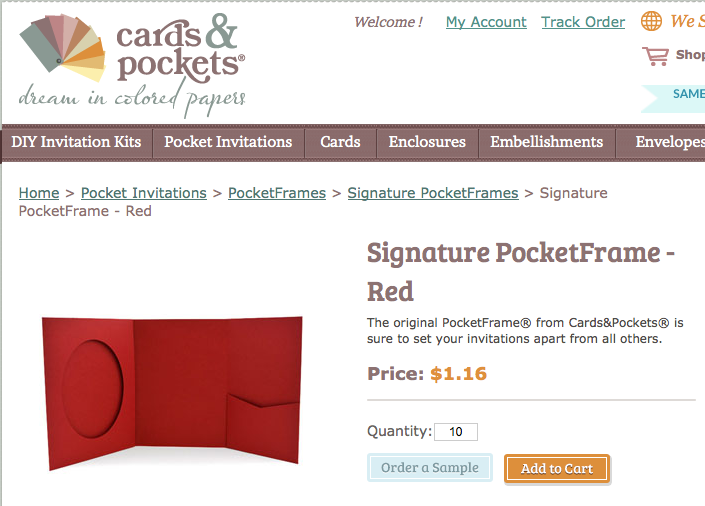
I knew that I wanted to incorporate die cut elements, as an homage to my work with Silhouette. I ordered samples of paper from cardsandpockets.com. I chose them because they had the most unique templates that I could find to use as my base. I decided to go with this style:
--
I also ordered a swatch book to help me decide on the other colors I needed, white, black, and gold. Here is my little buddy helping me pick the colors.
I used the measurements from the pocketframe card and started die cutting my "white gold" paper, at this point I would literally have both of my Silhouette machines going at the same time, this was the most tedious step.
Once I got all the pieces all cut out, I started to Gocco my gold designs onto the papers. I am so obsessed with my Gocco machines it's not even funny, I would do anything to figure out a way to revive this dead art.
This is my setup: I had to find that HP printer in the background especially for Gocco-ing. That printer is one of the few that prints with carbon ink, which barely exists anymore. Every once in a while you will see some old carbon ink cartridges pop up on ebay, and those are usually snatched up by me :)
I couldn't really take pics of the printing process bc once you get going you really shouldn't stop. Here are some finished cards hanging up-
running out of space!
Meanwhile, I was agonizing about my die cut portion of the invitation. This is how it finally came out after SO MUCH trial and error that I was beginning to think it couldn't be done!
Then I got the envelopes back from the calligrapher! I wish I had the talent to be able to write like that, my handwriting is so terrible that I might as well be a doctor.
Just a few more steps to go! I ordered both the round and square gold double mat straight from Cards
& Pockets, so that saved me some steps. I sent the white paper through
my Silhouette to get that double rounded edge on all the cards. I also ordered the envelope liners straight from Cards & Pockets as well, which saved a ton of time and energy.
Laying everything out to see how well everything is fitting together so far.
At this point I had Gocco-ed both my gold background and the text on most of the cards.
Organizing stamps. I went a little cray. But seriously how cute are those vintage stamps?!
Now came the finishing touches, like adding wax seals and lace to tie the whole card together. I had a ton of antique french lace laying around from my mom, so I finally got to use it for something!
The first round, all ready to be mailed out! I had to have them hand cancelled at the post office, I don't think I have ever had a harder time leaving something behind before. Trusting the USPS with this was terrifying!!
But despite my worrying they arrived, and made their way around social media! :)
All finished!! Has anyone else ever attempted something like this before? Please tell me I am not the only crazy one, haha...
Hope this inspires you! :)
xoxo, Soph


