Tuesday, November 18, 2014

I'm in Better Homes and Gardens!

My die cuts from my Silhouette store made it in Better Homes and Gardens! So happy!


Wednesday, September 3, 2014

Photo Collections of my work

I have been gathering up a good amount of print projects, and thought I should make some collages of them. Here they are:

Save the Dates for my upcoming wedding-


Dress cards for my bridesmaids-


Will you be my Bridesmaid? cards-


Engagement Party invitations-


Baby shower invitations-


Wedding invitations I made for a friend-


Hanky Save the Dates I made for a friend-

More to come! :)
-Soph


Monday, May 19, 2014

Camper Van Assembly Tutorial

I finally got around to making a tutorial for my Camper Van!

The most important part is finding strong enough paper. I would use a thick card stock or cardboard. I used a thin piece of cardboard and regular paper for the colored pieces, although card stock would be better.  You could go really crazy with patterned or glittery paper!

Here are all the pieces fresh from the machine:


To get the 4 hubcaps, just copy and paste the headlight in your silhouette software 3 times.


Send that to your Silhouette machine and once you get all the pieces in what colors you want, you can start affixing your trim and hubcaps, I like to use my Tombo.


Place the back piece on right below the window.


The front piece should align on top right with the 2 corners of the van.


Now fold it up, and interlock the 2 tabs on the bottom,


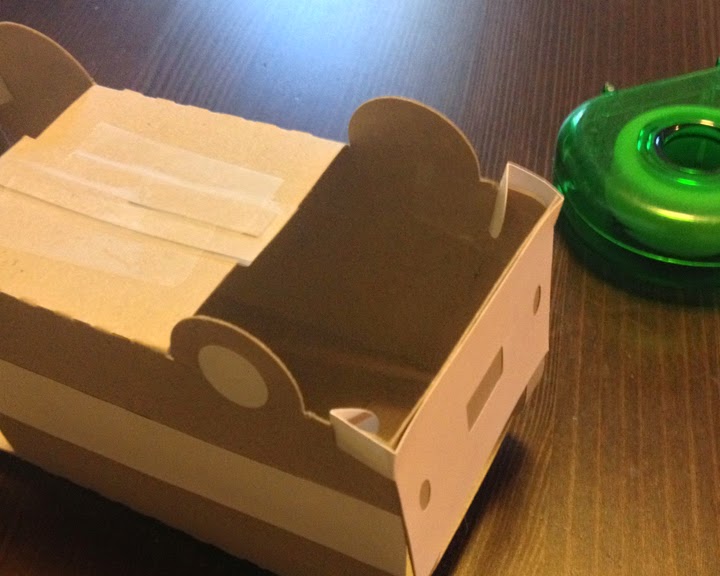
and tape the bottom up pretty well for support.


Now bend the back end and interlock the bumper with the tabs


and bend the tab back so it stays. I like to tape this down as well.


Do the same to the front.


Tra-la! Now you can open up the sunroof and get to the fun part!


I like to use cellophane bags to put whatever my filling is inside. Depending on how heavy your filling is, you might want to add an extra piece of thick scrap paper on the bottom and tape it up. It is good to try to find the lightest objects you can, I used gumdrops here.


Fill it up!


Then you can tie up the top of the bag, and Close up the top. I used some cute washi tape to close mine. You can also personalize the van by writing someone's name on the side panel, or wherever! You can add some cute flowers to the sides, or put in some Scooby snacks for your dog lover friends. The possibilities are endless. :)

Tuesday, April 1, 2014

Pop Up Cards in my Silhouette Store!


I have some new pop up cards in my Silhouette store, one for birthdays and one for Easter. I thought I would make a tutorial on how to assemble both of them for you!

http://www.silhouetteonlinestore.com/?page=view-shape&id=57500http://www.silhouetteonlinestore.com/?page=view-shape&id=57445

First cut out both cards and the elements,  obviously it's good to use lots of different fun colors! I am going to use generic plain paper for the sake of being simple:


Fold them both in half:

Fold the inside part of the 3D base inwards:

Fold the innermost folded part in the opposite direction, until you get this:

Attach the 3D base to the outer card using glue, tape, or my favorite, a Tombow.

Now the fun part, get out all your elements! I have a bunch of the things that are included in the birthday and Easter card sets.
For the birthday card, here is how to put together the cupcake that is included:
Attach the candles and icing with tape. Sometimes if I want some extra depth I'll take some left over scrap paper and fold it into a little box to put behind things.
 
Tape it on the back, 
And attach it to the card!

This is the part where you can really do whatever you want and run wild. Add as many layers as you want for more and more depth. Go crazy!
Make sure to keep closing the card to make sure that none of your elements stick out of the top when it is folded.


Here is a side view of the Easter card to show more detail:

You can just imagine how many other elements that you can add to your own card!
I hope this inspires you to make your own pop up cards, and when you do I would love to see them!

Wednesday, February 26, 2014

Engagement Party!


Here are some photos from our engagement party! This was definitely one of the best nights of my life.